So when creating the first draft of a shader ( especially in such tools like Shader Forge where the immediate visualization always comes handy), I often times do not focus on performance, maintainability or readability in the first place. The outcome should just do whatever I want it to do so that artists can actually start testing.
But of course it needs a lot of fine tuning and optimization afterwards in order to make sure you deliver something with a quality standard in performance and look. I created this generic ripple shader some time okay and I fortunately kept the unoptimized version. I will explain to you my improvement changes step by step. For me as a rule of thumb is: work around division (especially with integers), try to avoid power if possible, the fewer calculations for the same outcome often times the better, no branching, optimize textures until the edge of maintainability, always compare textures against genericly calculated visuals, only use variables where required and don’t forget comments!
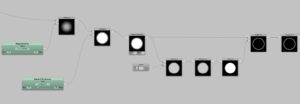
In the next sections you will find a lot of explanations to the images you see on the right. They are ordered from top to bottom where the first one is always the original and the ones after are optimized versions.
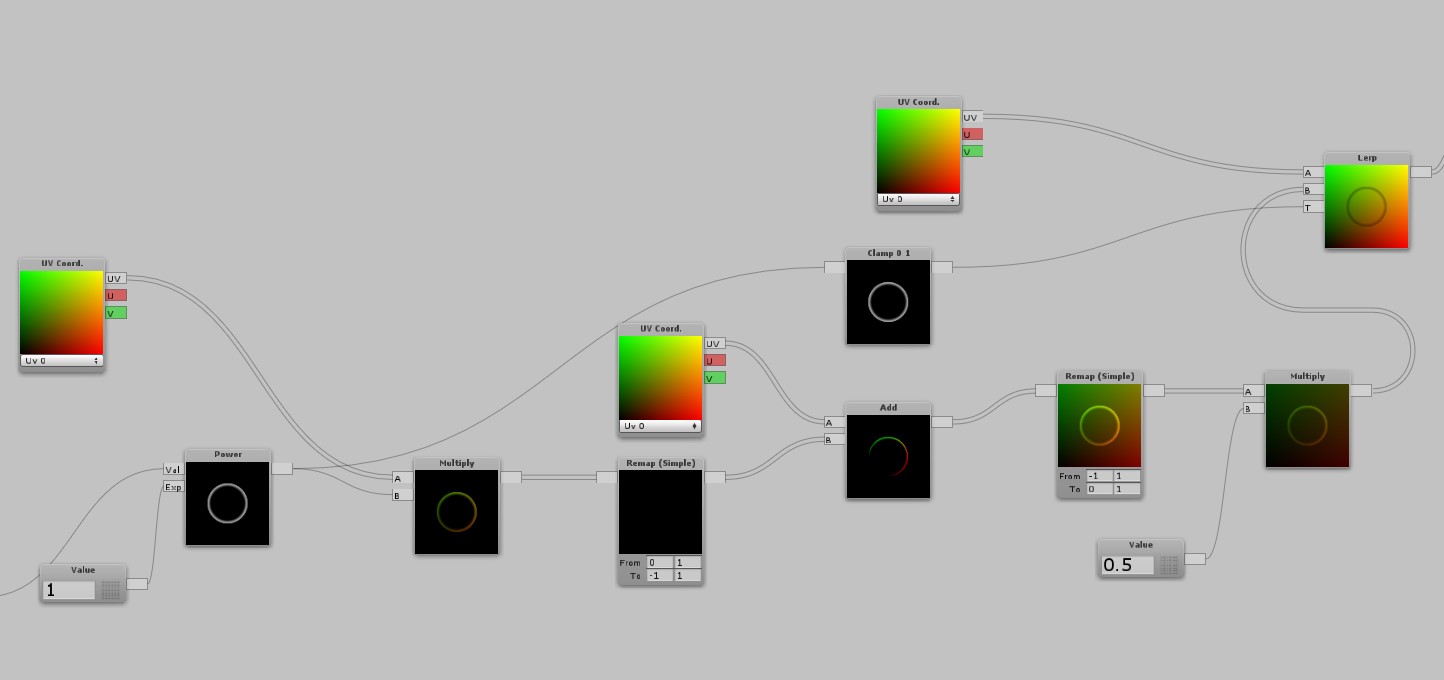
Alright let’s have a look at the first part of this shader. To sum up what you see, we create a radial gradient from the uvs to avoid using textures and it to speed up iteration processes. That’s standard and not something I want to cover in depth. There are a couple of calculations but they are required. The only small issue I have is the power node. It is not super critical, but there are still ways to work around it. The nature of power in shader programming is that it makes values greater than one even greater, values which are smaller than one will become smaller. You can try to mimic this behaviour by using subtraction to remove the lower gradient values and then bump up the remaing values by multiplying. It needs some tweaking and you lose some softness but it is a good way to get rid of it if you feel like you should.
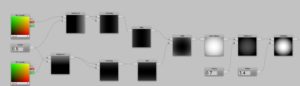
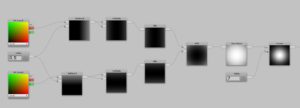
Honestly? By looking at the second part it took me quite some time to figure out how it actually worked. It must’ve been late midnight because that’s just unreadable and crappy. Inverting the clamped gradient, bumping it up and then adding it and the outcome looks good feels so random to me. But there are good news: there are a lot of solutions for this problem and then you only have to decide what kind of ripple gradient would be the best. The second image shows how to do it better. We are cutting some of the white and then subtracting it again. Bad thing with this solution is that the inner circle of this gradient is quite harsh. So this solution is way better than the first one when it comes down to readability but it lacks visual quality and some freedom. Because there is a point where subtracting any value from the clamped gradient no longer works. So that’s not good. Way better and cleaner is the third solution. We are reusing the original gradient before applying the RippleThickness parameter, giving it some cranked down value based on the actual thickness and subtracting it afterwards. Optimization in the end didn’t happen too heavily in this example, this was partially a cleanup step in which we got rid of a power calculation which is good. And the outcome looks smooth as well. Try to always think about which operation you should use. Play around with it, you will learn fast which operation leads to which outcome.
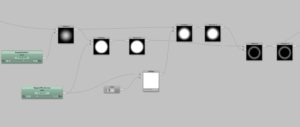

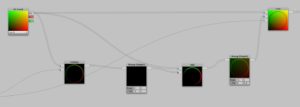
By looking at the third and last part of this tutorial, you will notice a couple of tricky things. First: to be able to move the gradient in all directions, I needed remap the values to the area of -1 to 1. Then I used the default gradient on top to display the rest of the object as expected. By looking at it, you will find redundant parts quite easily. So things like the power node at the start is something to delete asap. But even using the same uv coordinates three times seems pointless. It is better for overview, but then we have to pray that Shaderforge is smart enough to reuse one variable and not create three. One more step I can see which could make total sense is that the last multiplication of the remapped value before we plug it into B of the lerp node can be removed. If that factor is fix, then we can directly remap to 0 | 0.5 instead. If the brightness needs to controlled, then we should leave it as it is.

Doing some optimization and clean up made the node tree look way better and the performance went up. Even if it is only super subtle. I hope you enjoyed this small tutorial. Thanks for reading!